Sunday, January 20, 2013

Uptown Girl

I'm finally sharing my very last finish of 2012.
A while back I bought a little pattern by Make It Perfect. 
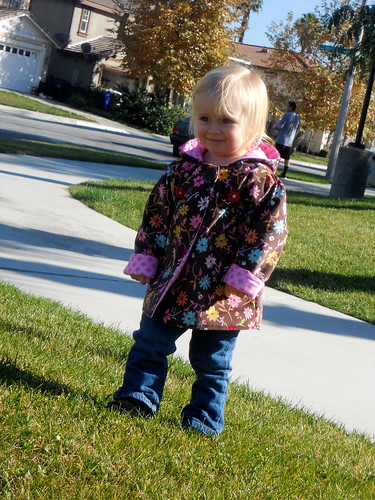
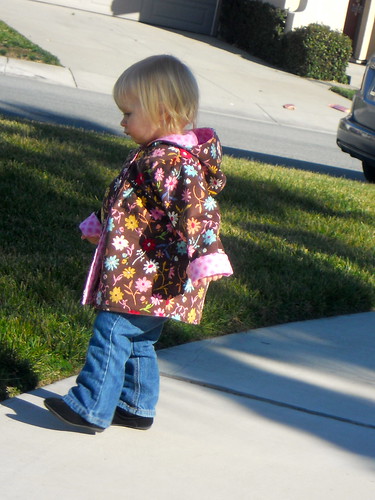
The pattern is for the Little Uptown Girl jacket. 
It's so cute, I couldn't resist.

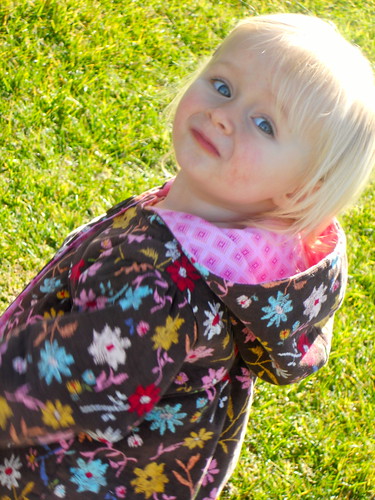
I went looking for fabric to make it with and ended up with this small, 
super soft corduroy and a pink lining.
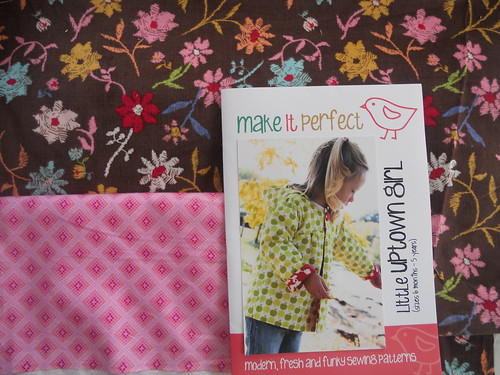
DSCN1935


The jacket went together very easily and was quick. 
The only problem I had was the button hole. 
My machine just doesn't do them well and protests every time.
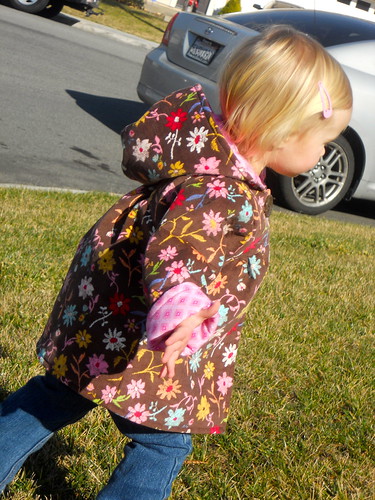
 I think it turned out even more adorable than I thought it would. 

I found a little cutie to model it for me.
She's nineteen months old and I went with size two for the pattern.
Its lined with iron on fleece.
I love how the fleece gave it just the right
amount of body and thickness without being bulky. 

DSCN2118


DSCN2119


DSCN2120


DSCN2122

Since I joined up with A Lovely Year Of Finishes to tame my works in progress (WIP) this year, I've been working hard on my butterfly blocks for do. Good Stitches. I've been making some good progress, but we'll see if I make my goal.

Meanwhile, I did manage to finish a few bee blocks
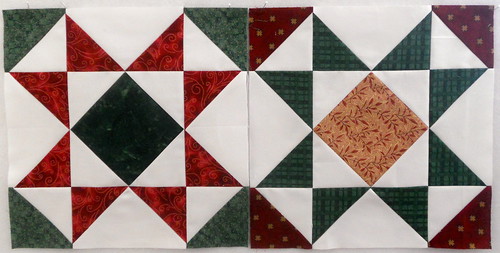
These two are for Lisa - Hive #2 january

These are the final blocks for Bee a {Modern} Swapper, as January completes our bee.
The tutorial for these can be found here.
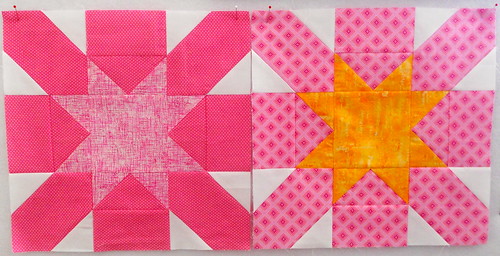
January star crossed blocks

These two are for do. Good Stitches, our January block.
They are called Starburst Cross block and the tutorial can be found here.

I'm also trying make a final decision on my
Doll Quilt Swap 13 mini for my partner.
I only have three weeks before mailing.
Yikes!

Happy Stitching : )

Monday, January 7, 2013

First Finishes and Accountability

I have one more week off work so I'm trying to get everything 
together/organized before heading back. I have so many projects at 
various stages of completion that I don't even count or consider some 
when taking inventory of my Works In Progress (WIP). 
Sad huh?  
In an effort to take back control I thought I would join in 
Each month I will attempt to complete one project or part of the project, 
post it and join their link up.


For January I will be working on my quilt for do. Good Stitches, Cheer Group. 
I need to make about 12 of these blocks to have a good size top. 
The actual goal is to make the blocks and complete the top. 
I wont be able to get it layered, basted and quilted this month,
but at least it will be on its way to done. 

Here's a few fluttering butterflies from the members of the Cheer Group

DSCN2124

Head on over to the Link Up for A lovely Year of Finishes and
get inspired to work on some of your projects or just cheer us all on.

And now for my first few finishes of the year.

DSCN2106

Two of my grandchildren got kitchens for Christmas so they needed a couple oven mitts.
This is my own pattern and my second attempt to get everything worked out how I wanted.
I'm happy with the way they turned out.
Now I just need to make about 4 more.


DSCN2111


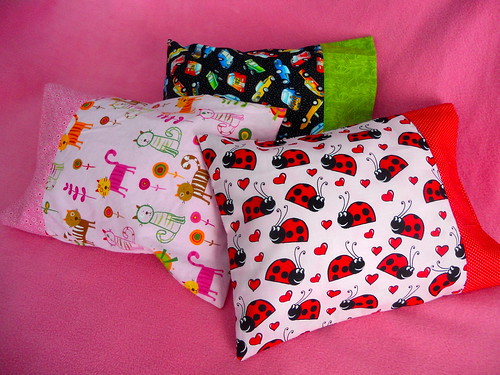
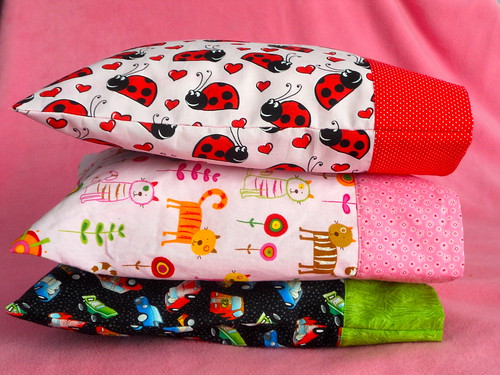
Then, I made these little pillows.
The adult pillows were just too large for the children's little necks.
I made the pillow insert and the cases. I actually made four pillows and eight cases.
I think they're cute, hopefully the children will love them.

DSCN2113


I'll be back soon with the last finish of 2012.
I have photos, but my daughter has better ones.

Hope your New Year is off to a great start.

Happy Stitching

Monday, December 31, 2012

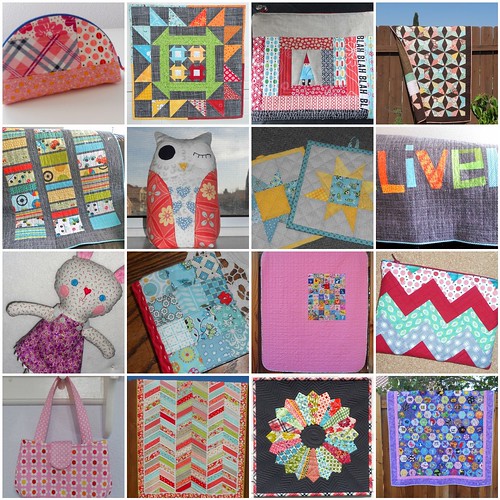
A Quick Look At 2012

Since this is the last day of the year I thought I would join 
others in blog land and take a look at what I've made this year.  

In looking over photos, I realized that I made many, many things 
that were never photographed.
I need to work on that for 2013. 
I have to say though that I am delightfully surprised 
that I finished seven quilts this year. 
Seven 
That's right, a big fat seven. 
Can you tell I'm thrilled?!


mosaicb787895d4f1a55112c16ff8893818c5b5342464a


As our family says goodbye to 2012
We reflect on the precious times spent together with loved ones.
The wonderful day to day happenings filled with
little moments that matter most.
The highs and a few lows, that although difficult, have stretched us.
We rejoice in God's graciousness and love to us.

A special thank you to all who visit my little creative space here in blog land.
May your 2013 be one of overflowing
love, great health and joy.

Here's to 2013

Monday, December 10, 2012

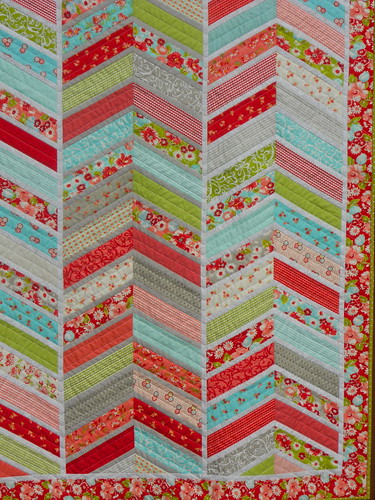
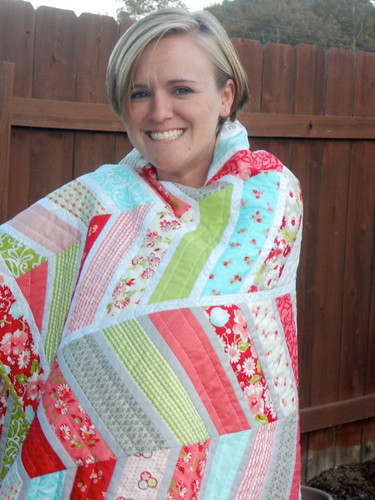
Finished Chevron

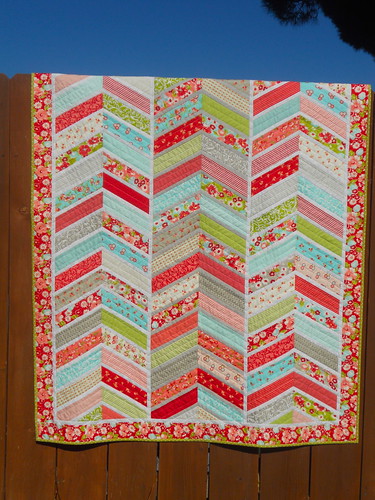
The Chevron is done! 

 I wanted to show the completed Chevron Quilt from the tutorial 
I did last month for the Let's Get Acquainted Hop. 
I got it quilted and bound, but didn't get a chance 
to get it all crinkly and washed before delivering it to my daughter.  


DSCN2056


I went with quilting that followed the zig zaggy chevrons 
and extended it in the borders. Edge to edge. 
The binding is a celery green with white dots that I love!


DSCN2066

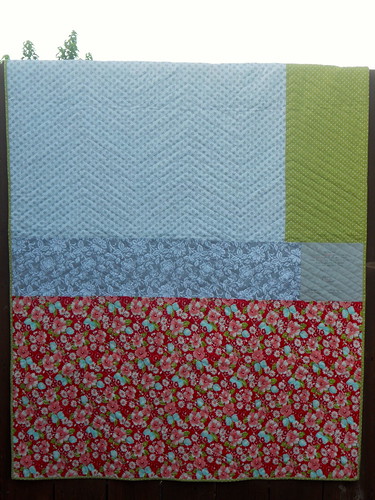
I pieced the back with what I could find in my stash and thought would work. 
I love the interest that a fun pieced back adds. 

DSCN2055

Here's a close up. I didn't get nearly as many photos as I wanted. 
I gave it to her on Thanksgiving, so it wasn't really a priority. 
I'm still hoping to get a few more photos next time we visit, 
especially after its first washing.

DSCN2070


Everything about this quilt says my daughter, 
the pattern, the fabric and the colors. 
They are all perfect for her.  


                                                              Amanda's Chevron

49 X 68 before washing
                        Ruby layer cake by Bonnie and Camille
Warm and White batting


Do you have a finished quilt from the tutorial?  
I'd love to see it!


Wednesday, November 21, 2012

Thanksgiving


I hope you all are safe, 
happy and enjoying a wonderful day 
with the ones you love.

Happy Thanksgiving

Sunday, November 11, 2012

Doll Quilt Swap 12

Its time for another round of the Doll Quilt Swap over on flickr. 
This is round 13,  can you believe it? 
There have been 12 rounds of beautiful doll quilts swapped?  
I joined in on round 12, and it was so much fun, and such a wonderful experience. 

This time I'm very excited to be a swap mama!


The doll quilt I made for Nicole aka Peony Bliss

This swap is open to all active flickr members and all skill levels, from beginners to experts. 
Sign ups are now and will continue for about a week, 
with the swapping of finished quilts in February. 
February, isn't that great? That gives plenty of time around all the holidays. 
I've been involved in a couple swaps and each time I've learned something new. 
My goal has been to push myself and raise the bar a bit.


The doll quilt I received from Mona aka QuiltingCyclist
If your interested don't delay, 
sign-ups will be closing very soon, so head on over and sign-up. 
We'd love to have you join in. 

Saturday, November 3, 2012

Chevron - Part Two

Part One is Here


Now that we have the left side rows done, lets get to the right side.
These are done the same way as the left,  in part one, except you will place your mark differently.
Start by adding a frame to each strip top. Press seams open. Place the mark 1 1/2" in on the right side of the strip, so it will lean the other way.


Once your units are complete, they will lean toward the left.
Trim them in the same manor as you did the right leaning ones in part one.


Continue making units, then rows to complete chevron rows 2, 4 and 6.


You know have 6 very long rows, 3 left side and 3 right side chevrons.


Take your 6 rows, 3 left side and 3 right side chevrons.
Sew the left side and right side of each chevron together very carefully,
so as not to stretch the bias edge, lining up the frame fabrics.


Gently press the long chevron seams open.
Repeat this for the other four chevron strip halves.
You should now have 3 complete chevron strips.


Now we can put the chevron strips together with frame fabric in between each chevron.

Lay your chevron on the floor and measure down the center.
Your center seam measurement should be the same as the outer edge measurement. Mine was 66".
Join two frame strips together to match the length of the row.  66" in my case.
Attached the frame strip to the right edge of chevron strips #1 and the right edge of chevron #2.
I used my walking foot because of the bias edge.


Now lets sew the left side of chevron #2 to the right side of chevron #1.
Lining the second side of the frame strip and chevron together is a bit tricky.
The chevron seams won't line up because of the 1/2" strip between them.
Place the chevron with the strip already attached, on top (no photo).
You will notice that the seam line of the top chevron strips will fall right in the middle of the frame strip of the other row (hopefully this will make sense when you do it) It really looks like it won't line up properly, but pin a bit and gently take a peek. I think you'll see how they fall together.
Pin well and if possible use a walking foot.  Press seams toward frame fabric.
Now repeat the same process for chevron #2 and #3.


It's time to trim the top.


I placed the chevron points at the 1 1/2 mark and with the ruler straight on the sides, I made my cut. I carefully moved my ruler along the width of the quilt top. It worked, but it might have been easier, space wise, to trim earlier.


Carefully move the ruler along the width of the quilt top and cut.  Repeat for the bottom of the quilt.


Finally, we are ready for the borders.
Cut 2 frame strips for the each side and the 2 strips for the top and 2 for the bottom. Sew them together to make them long enough. attached side and top/bottom frame border and Press.


Cut the outer border. Mine is cut at 3" wide.  Attach. Sew and press. (No photo of the border #2).

Now you have a finished chevron quilt top.       Isn't it beautiful?!

Hooray for you!  Layer and quilt as desired.


Here's mine. It finished right about 49 X 68. A pretty generous lap size, which is what I wanted.


  So Pretty - I love this fabric

I will be getting to the layering and quilting very soon and will update this post with a completely finished quilt when I do.

 If you find any area of the tutorial lacking, please let me know and I would love to see any quilts you make using it : )

Whoo Hoo, another completed top!


The Completed Quilt 

DSCN2056